
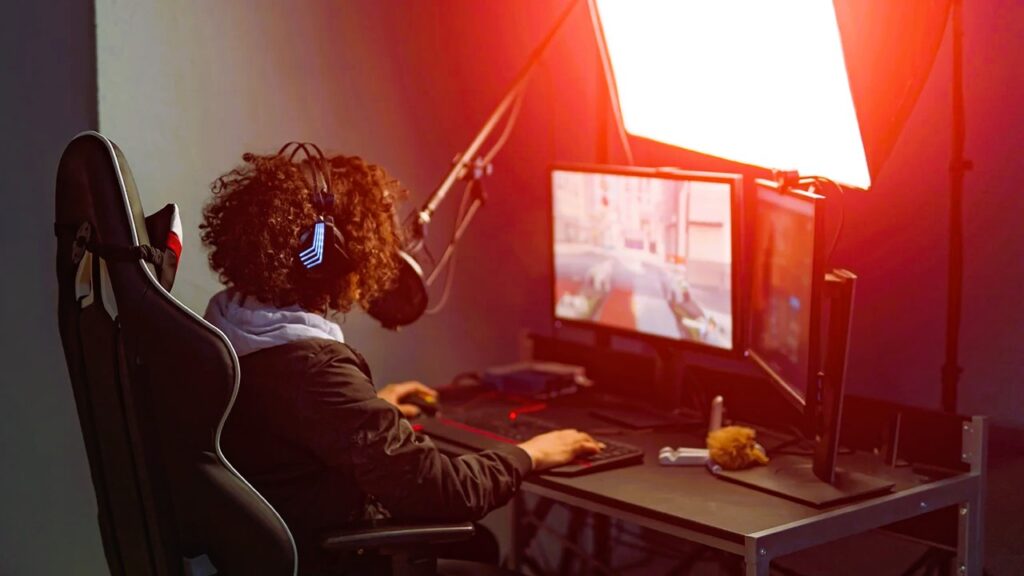
Streaming your gaming sessions has become a popular way to share your gaming experiences with a global audience. Whether you’re aiming to build a following or simply share your gameplay with friends, setting up a high-quality gaming stream involves several key steps. This guide will walk you through everything you need to know, from selecting the right equipment to configuring streaming software.
1. Choose Your Equipment
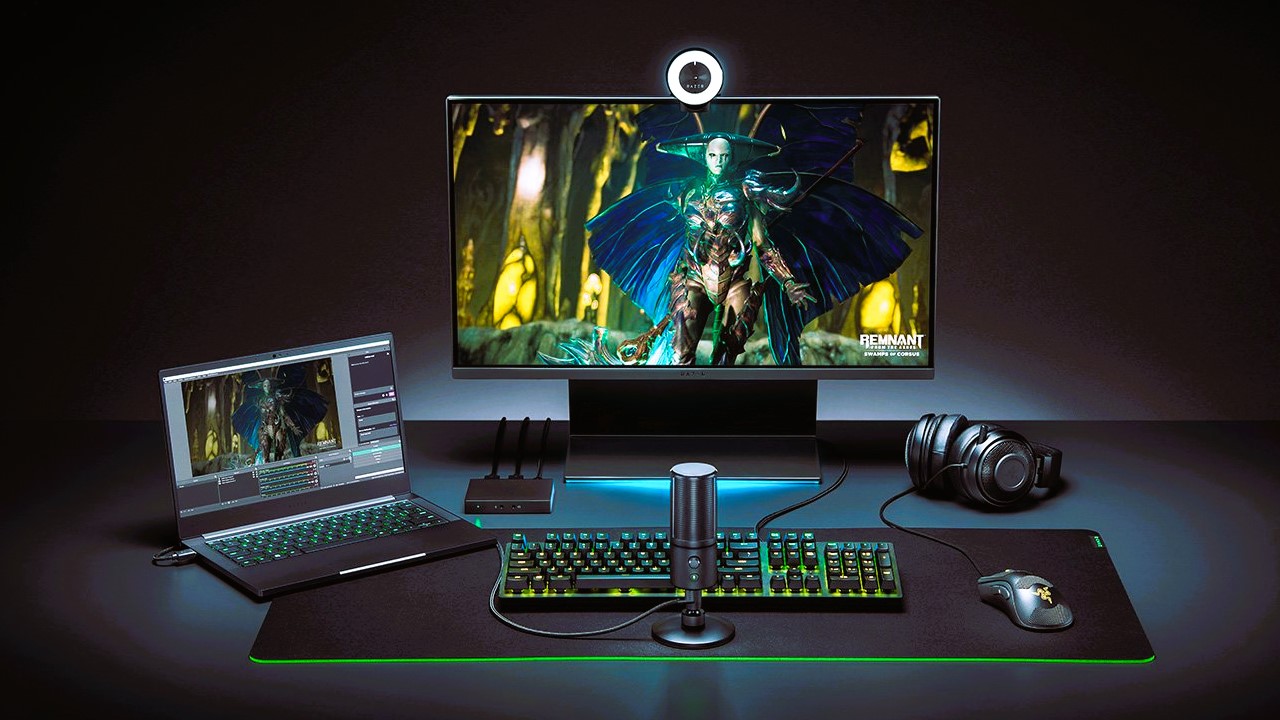
To start streaming, you’ll need a few essential pieces of equipment. Investing in quality gear can significantly enhance your streaming experience.
1.1. Gaming PC or Console
- Gaming PC: Ensure your PC has a powerful CPU, a high-performance GPU, and sufficient RAM to handle both gaming and streaming. Recommended specs include an Intel Core i5 or AMD Ryzen 5 processor, a NVIDIA GeForce GTX 1660 or AMD Radeon RX 580 GPU, and at least 16GB of RAM.
- Gaming Console: If you’re using a console (e.g., PlayStation, Xbox), ensure it supports streaming or use a capture card to connect it to your PC.
1.2. Camera
- Webcam: A good webcam enhances your stream by adding a personal touch. Popular models include the Logitech C920 or the Razer Kiyo, which offer high-definition video quality.
- DSLR or Mirrorless Camera: For higher quality, consider using a DSLR or mirrorless camera with a capture card. This setup provides superior image quality and a more professional look.
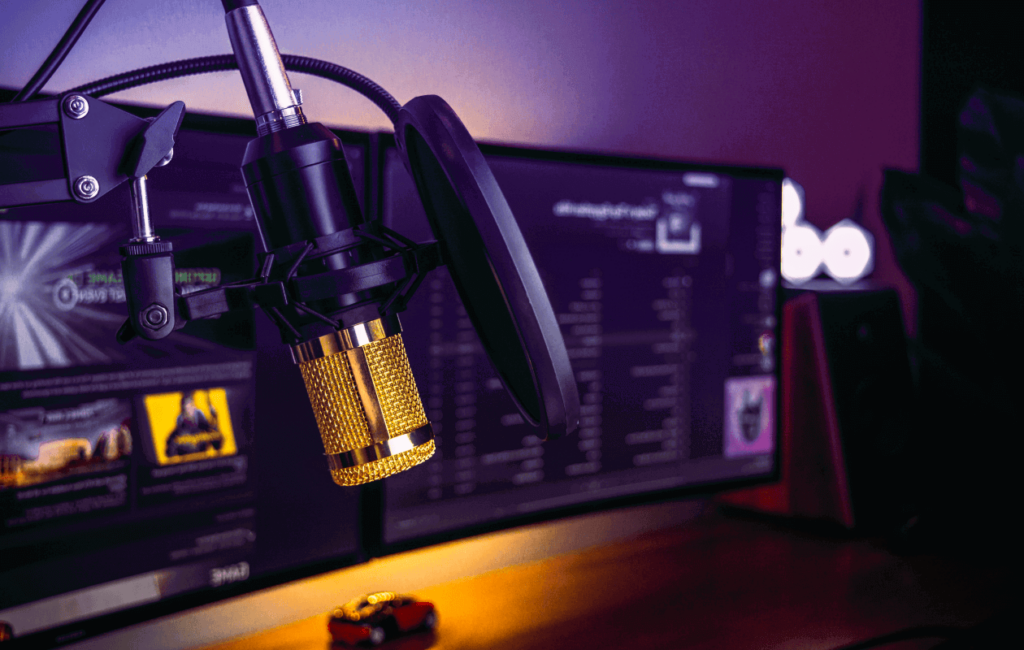
1.3. Microphone
- USB Microphone: Easy to set up and use, USB microphones like the Blue Yeti or HyperX QuadCast offer excellent sound quality for most streamers.
- XLR Microphone: For a more professional setup, an XLR microphone combined with an audio interface can provide even better sound quality. Popular choices include the Audio-Technica AT2020 and the Shure SM7B.
1.4. Headphones
- Gaming Headset: A gaming headset with a built-in microphone, such as the HyperX Cloud II or SteelSeries Arctis 7, can be a good all-in-one solution.
- Studio Headphones: For better sound quality and comfort during long sessions, consider studio headphones like the Audio-Technica ATH-M50x.
1.5. Lighting
- Ring Lights: A ring light like the Neewer Ring Light Kit can help illuminate your face and reduce shadows, making your stream look more professional.
- Softbox Lights: For more controlled lighting, softbox lights provide even illumination and can be adjusted to your preference.
2. Install and Configure Streaming Software
Streaming software is crucial for broadcasting your content to platforms like Twitch, YouTube, or Facebook Gaming. Here’s how to set it up:
2.1. Choose Your Streaming Software
- OBS Studio: A popular, free, and open-source option, OBS Studio offers extensive customization and support for various plugins and features.
- Streamlabs OBS: A user-friendly version of OBS Studio, Streamlabs OBS includes integrated tools for alerts, overlays, and chat management.
- XSplit: A paid option with advanced features and customer support, XSplit provides a range of tools for professional streaming.
2.2. Set Up Your Scene
- Create Scenes: In your streaming software, create scenes for different aspects of your stream, such as gameplay, webcam feed, and overlays.
- Add Sources: Within each scene, add sources such as your game capture, webcam, microphone, and any additional graphics or alerts. The benefits of using an SSD for gaming, read more at this link.
2.3. Configure Settings
- Stream Settings: Enter your stream key and select the streaming platform you’re using (e.g., Twitch, YouTube). The stream key can be found in your account settings on the streaming platform.
- Output Settings: Adjust your video bitrate, resolution, and frame rate based on your internet speed and PC capabilities. A common setting is 1080p at 60fps with a bitrate of 4500 Kbps.
- Audio Settings: Ensure your audio sources are properly configured and balanced. Test your microphone and game audio to avoid issues during your stream.
2.4. Test Your Stream
- Run Tests: Before going live, perform test streams to check video and audio quality. This will help you identify any issues and make necessary adjustments.
- Monitor Performance: Keep an eye on CPU and GPU usage during tests to ensure your system can handle the load.
3. Optimize Your Streaming Setup
3.1. Use Overlays and Alerts
- Stream Overlays: Add overlays to display information like recent followers, donations, or your social media handles. Tools like Streamlabs and Streamelements offer customizable overlays.
- Alerts: Configure alerts to notify you when viewers follow, subscribe, or donate. This enhances viewer engagement and interaction.
3.2. Promote Your Stream
- Social Media: Share your stream schedule and updates on social media platforms to attract viewers.
- Community Engagement: Participate in gaming communities and forums to build relationships and increase visibility for your stream.
3.3. Monitor and Improve
- Analytics: Use analytics tools provided by your streaming platform to track viewer engagement, peak times, and other metrics.
- Feedback: Listen to feedback from your audience and make improvements based on their suggestions.
Additional Resources
For more detailed information on streaming equipment and setup, visit Wikipedia’s page on Streaming Media.
Setting up a gaming stream involves selecting the right equipment, configuring streaming software, and optimizing your setup for the best viewer experience. By carefully choosing your gear and software, and by thoroughly testing your stream, you can create a high-quality broadcast that engages and entertains your audience. Whether you’re a seasoned streamer or just starting out, these steps will help you establish a professional and enjoyable streaming presence.