
External graphics cards (eGPUs) have become increasingly popular among laptop users who need a performance boost for gaming, graphic-intensive applications, or professional workloads. By connecting an external GPU to your laptop, you can significantly enhance its graphical capabilities without having to invest in a new machine. This guide will walk you through the process of setting up and using an external graphics card with your laptop, covering everything from choosing the right hardware to installation and optimization.
1. Understanding External Graphics Cards
What is an eGPU?
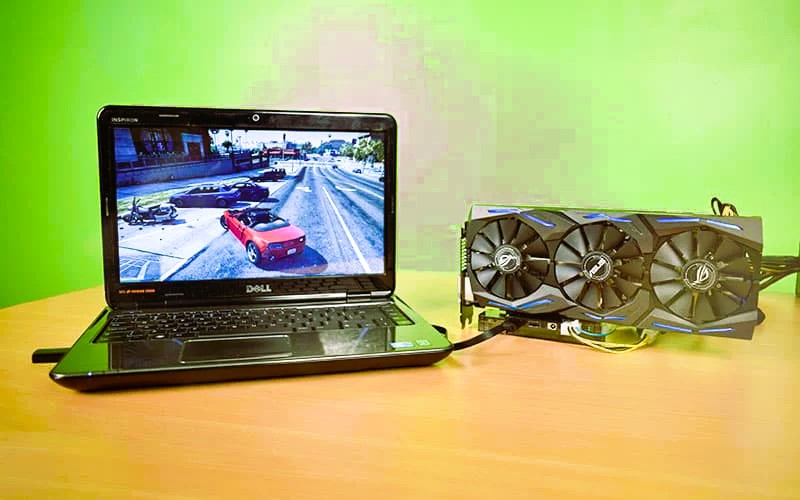
An external graphics card (eGPU) is a standalone GPU housed in an external enclosure that connects to your laptop, typically via a Thunderbolt 3 or 4 port. This setup allows you to leverage the power of a high-performance graphics card, which can vastly improve gaming performance, accelerate rendering tasks, and enhance overall graphical output.
Benefits of Using an eGPU
- Enhanced Performance: An eGPU can provide significantly more graphical power compared to the integrated graphics in most laptops.
- Future-Proofing: Upgrading the external GPU is often easier and more cost-effective than replacing an entire laptop.
- Versatility: An eGPU can be used with multiple laptops, making it a flexible solution for users with more than one device.
2. Choosing the Right Hardware
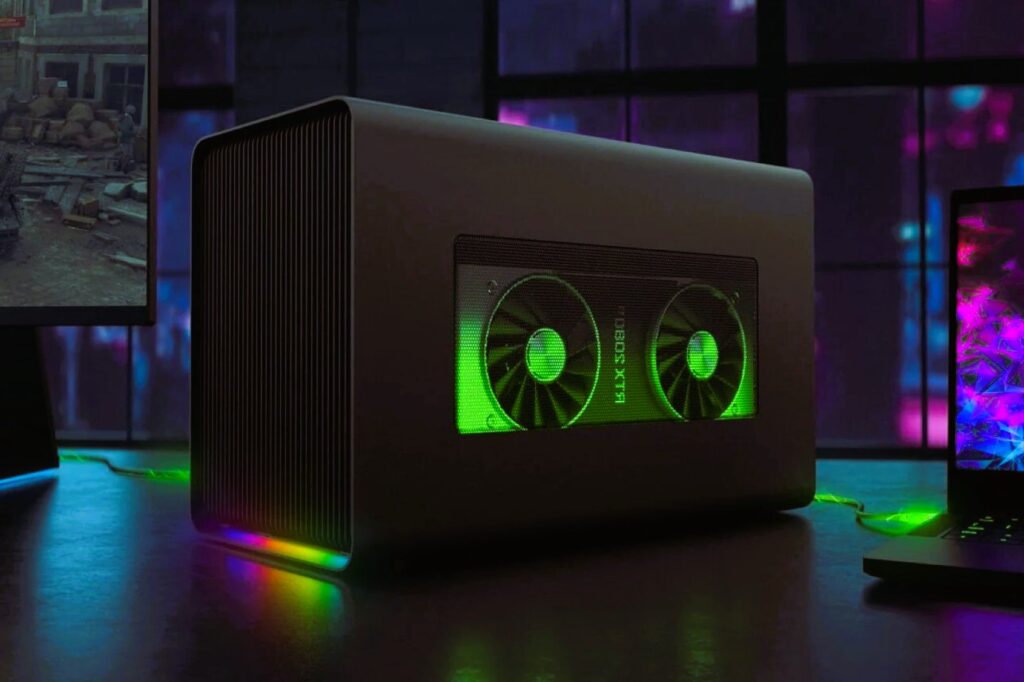
Selecting an eGPU Enclosure
The eGPU enclosure is a critical component of your setup. It houses the external GPU and connects it to your laptop. When choosing an enclosure, consider the following factors:
- Compatibility: Ensure the enclosure is compatible with your laptop’s port (Thunderbolt 3 or 4) and the GPU you plan to install.
- Cooling: Look for enclosures with good cooling solutions to keep the GPU running efficiently and prevent overheating.
- Power Supply: The enclosure should come with a sufficient power supply to support the GPU and any additional peripherals you might connect.
Choosing a Graphics Card
Select a GPU based on your performance needs and budget. Popular choices include NVIDIA GeForce RTX and AMD Radeon RX series cards. Consider factors like:
- Performance: Choose a card that meets or exceeds the performance levels required for your applications or games.
- Compatibility: Verify that the GPU is supported by your chosen eGPU enclosure.
- Future Upgrades: Opt for a card that offers good performance longevity to maximize your investment.
3. Setting Up the eGPU
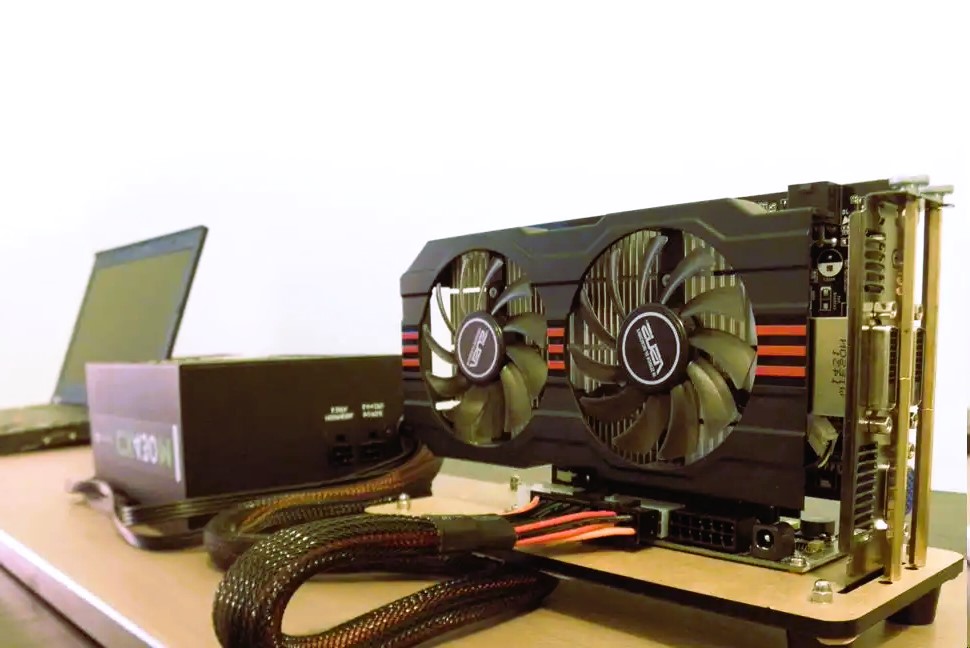
Assembling the eGPU Enclosure
- Open the Enclosure: Carefully open the eGPU enclosure following the manufacturer’s instructions.
- Install the GPU: Insert the graphics card into the PCIe slot within the enclosure. Secure it with screws if necessary.
- Connect Power: Plug in any necessary power cables from the enclosure’s power supply to the GPU.
- Close the Enclosure: Once the GPU is securely installed, close the enclosure and ensure all connections are tight.
Connecting the eGPU to Your Laptop
- Power On: Turn on the eGPU enclosure using its power switch.
- Connect to Laptop: Use a Thunderbolt 3 or 4 cable to connect the eGPU enclosure to your laptop. Ensure that the cable is securely plugged into both the laptop and the eGPU.
- Install Drivers: Your laptop will need the appropriate drivers for the GPU. Download and install the latest drivers from the GPU manufacturer’s website (NVIDIA or AMD). Read about the Pros and Cons of different types of gaming monitors in our article.
4. Configuring the eGPU
Driver Installation
- Download Drivers: Visit the GPU manufacturer’s website to download the latest drivers for your graphics card.
- Install Drivers: Follow the installation instructions provided by the manufacturer. Reboot your laptop if required.
Setting Up Graphics Preferences
- Access Graphics Settings: On Windows, right-click on the desktop and select “NVIDIA Control Panel” or “AMD Radeon Settings” to access the graphics settings.
- Select eGPU for Applications: In the graphics settings, choose to use the external GPU for specific applications or games. This can be done by setting the preferred GPU for each application individually.
Troubleshooting
- No Detection: If your laptop does not detect the eGPU, ensure all connections are secure and that the enclosure is properly powered.
- Performance Issues: Verify that drivers are correctly installed and up-to-date. Check for firmware updates for both the eGPU enclosure and the GPU.
5. Optimizing Your eGPU Setup
Performance Tuning
- Update Drivers Regularly: Keep your GPU drivers up-to-date to ensure optimal performance and compatibility.
- Monitor Temperatures: Use software tools to monitor GPU temperatures and ensure it’s operating within safe limits.
Portability and Use
- Easy Connectivity: When not in use, you can disconnect the eGPU to maintain portability. Simply unplug the Thunderbolt cable and power down the enclosure.
- Portable Gaming: For those using a laptop for gaming on the go, an eGPU provides the flexibility to use high-performance graphics when stationary and switch back to integrated graphics for portability.
6. Conclusion
Setting up and using an external graphics card can significantly enhance your laptop’s graphical performance, making it suitable for high-end gaming and demanding applications. By selecting the right hardware, following proper installation procedures, and configuring your system correctly, you can enjoy the benefits of increased performance and versatility.
For additional information on external graphics cards and their implementation, visit the Wikipedia page on External Graphics Processing Unit, which provides an overview of the technology and its applications.
With careful setup and maintenance, an eGPU can be a powerful addition to your laptop, offering a substantial performance boost and extending the capabilities of your portable device.